Marking Jig
a jig to allow for easy center-hole marking
I was trying to manufacture a robot chassis and I was using square tubing to make it. When I used the saw to cut the tubing, the lengths varied a lot. When I had to drill holes, it was brought to my attention how accurately I could mark and drill the holes based on the drawing with just a sharpie and measuring tape.
I first suggested a block and hole to guide the sharpie. My colleague pointed out that reference frames were necessary to constrain block to the square tubing.
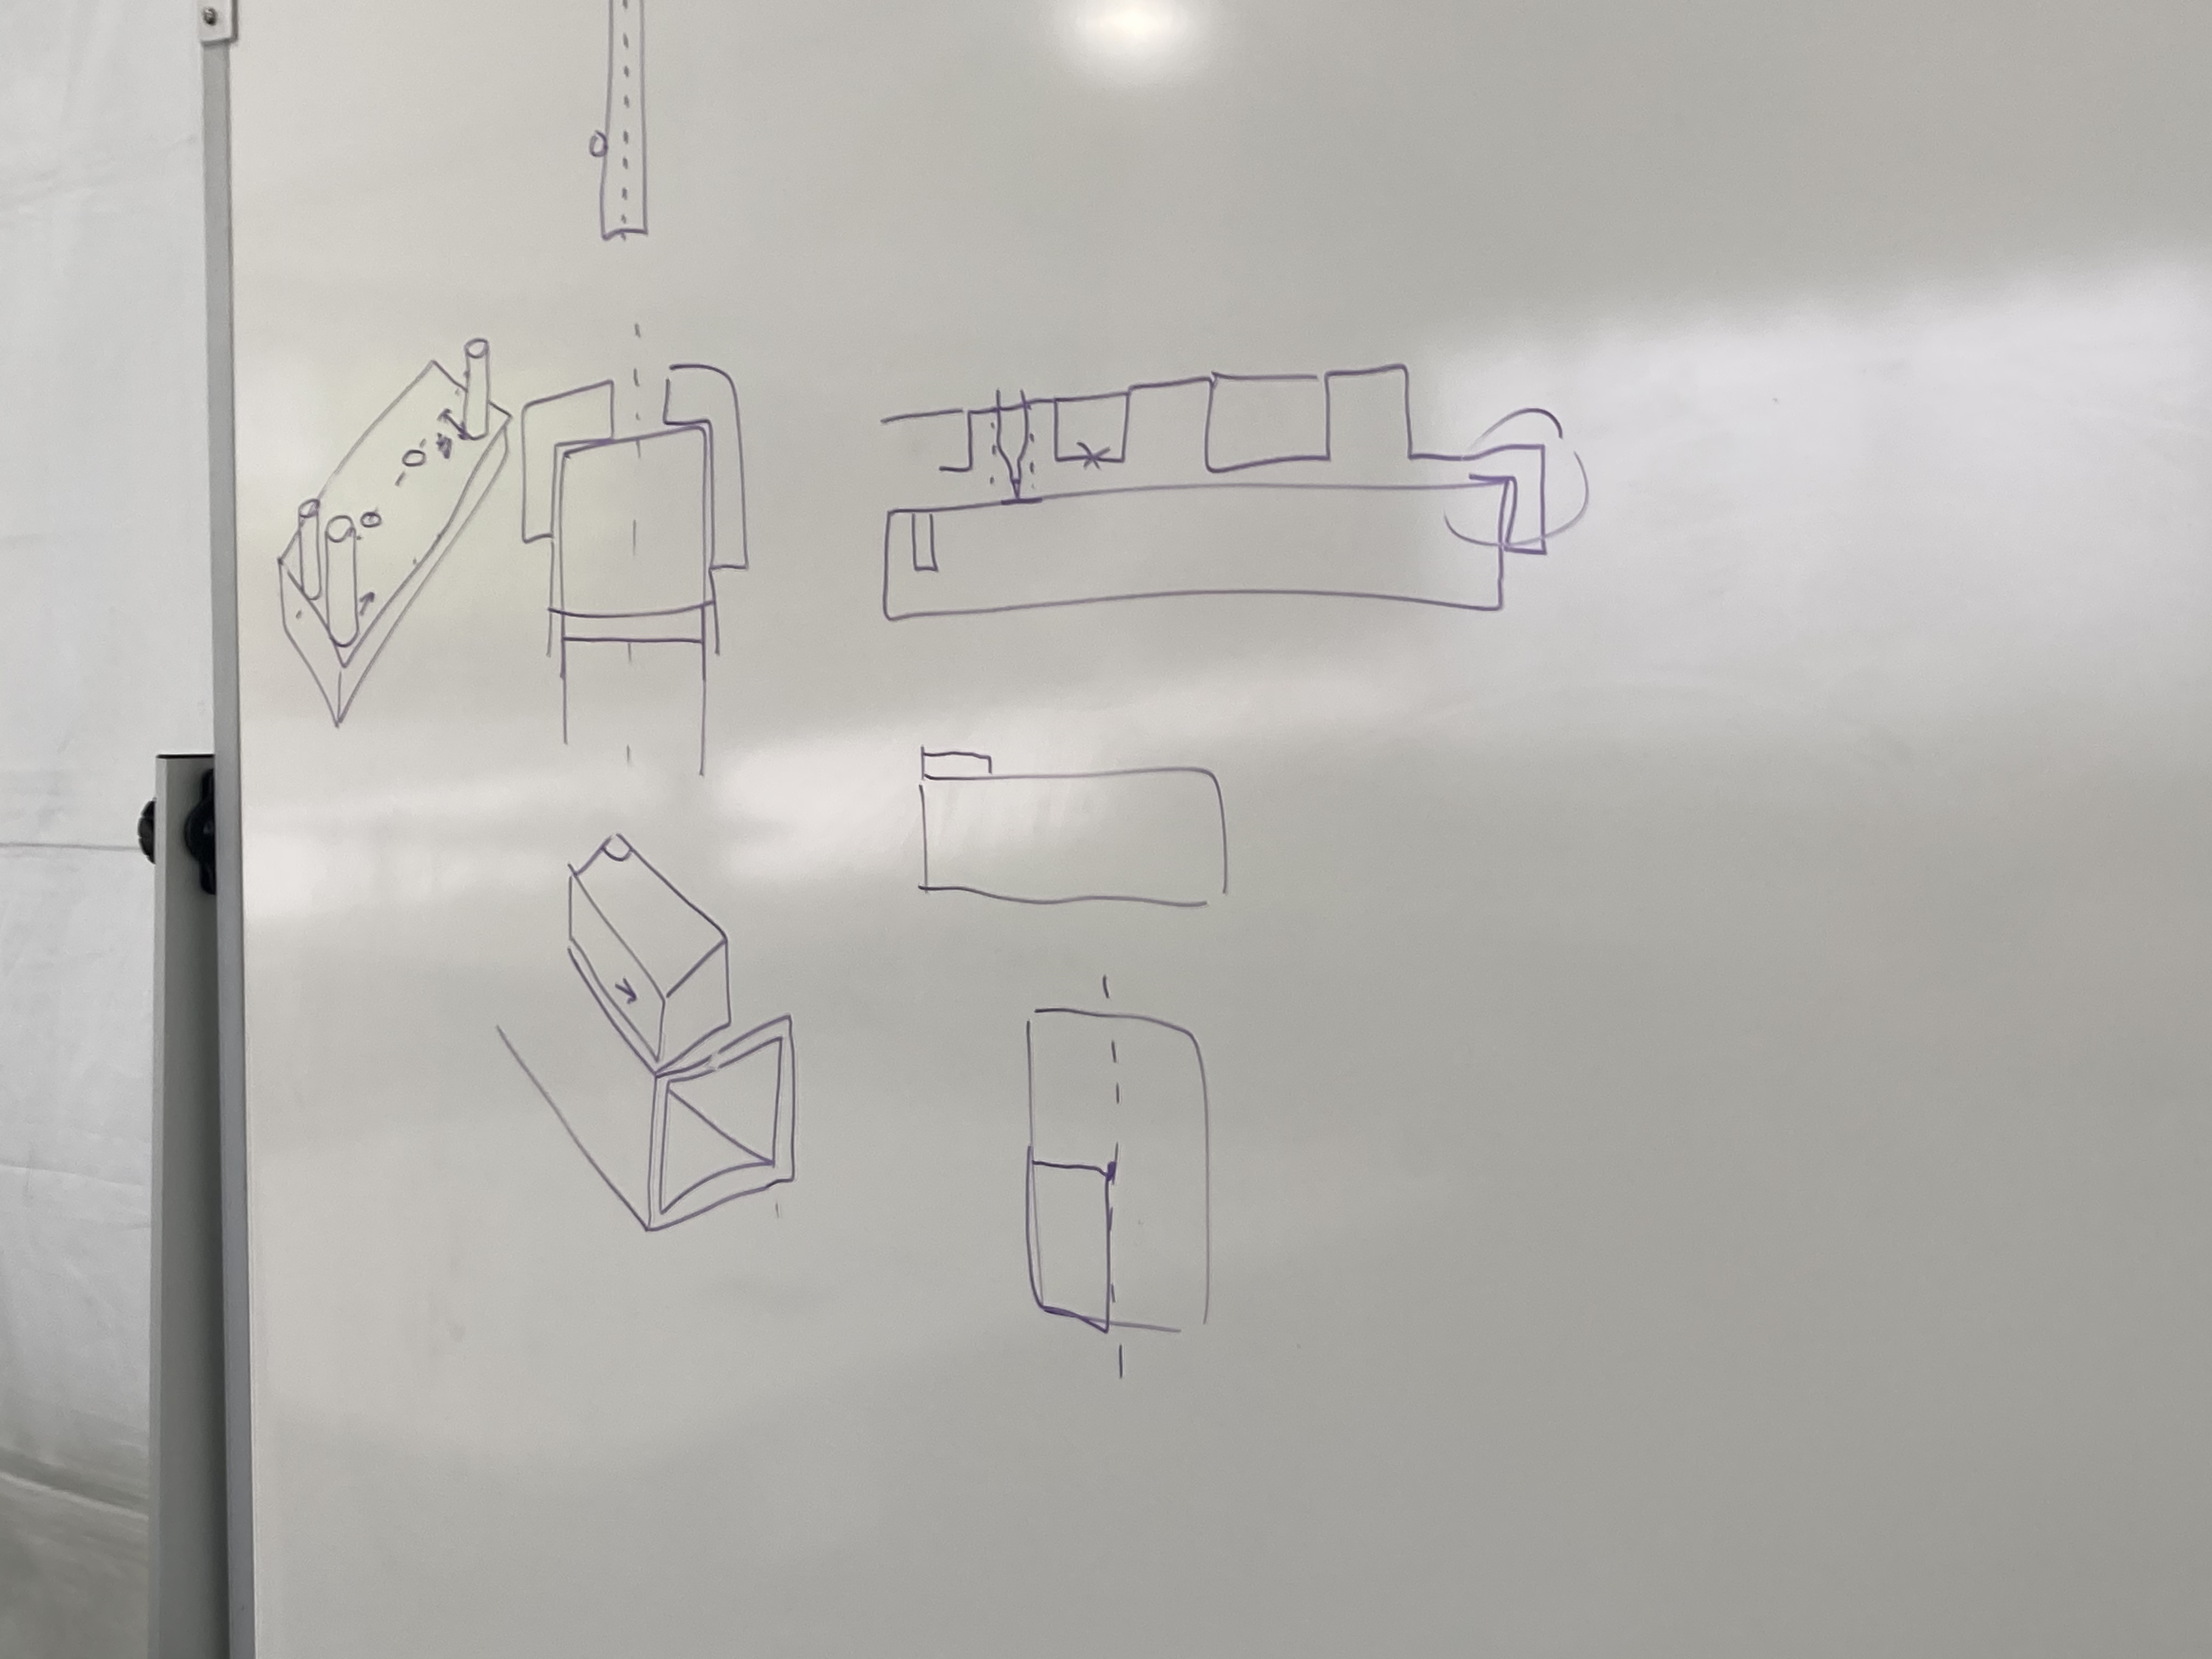
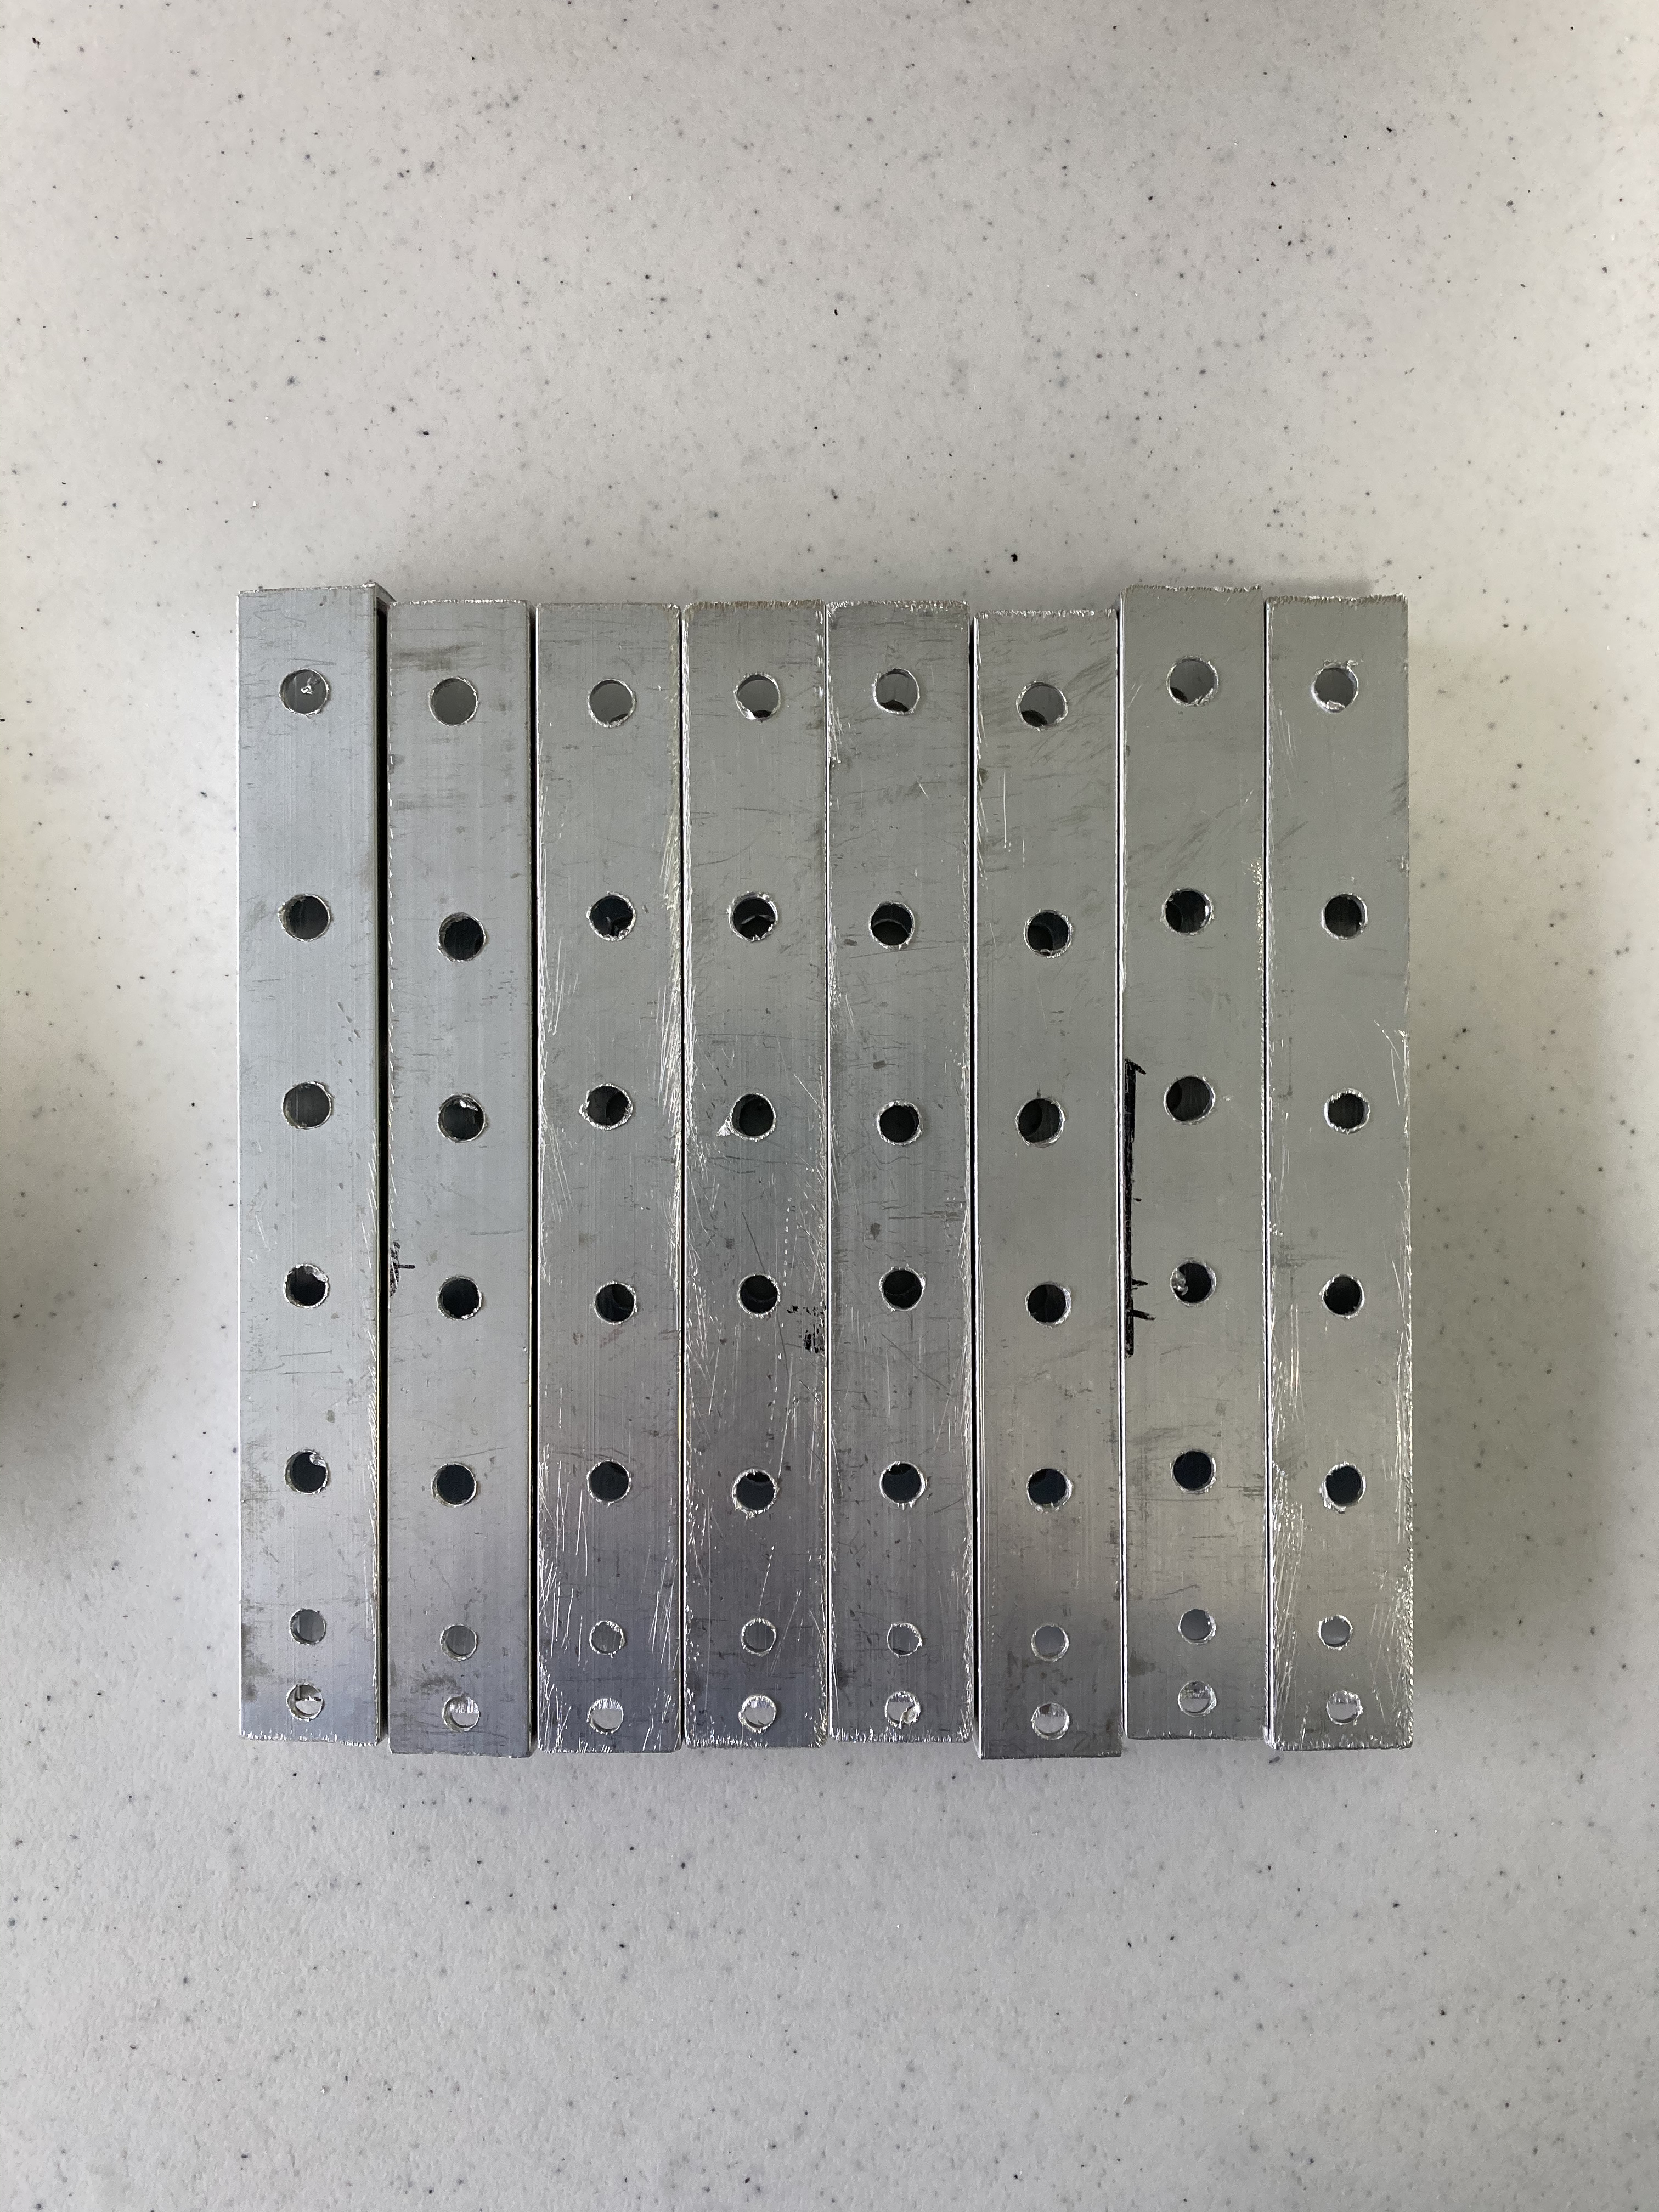
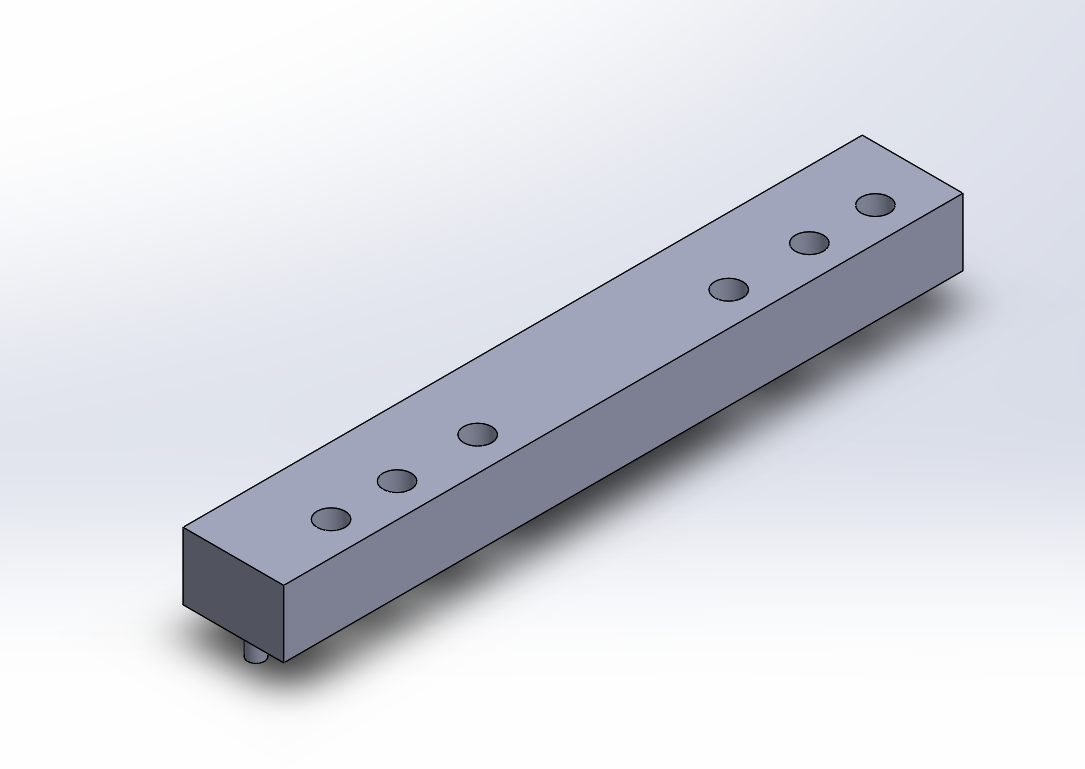
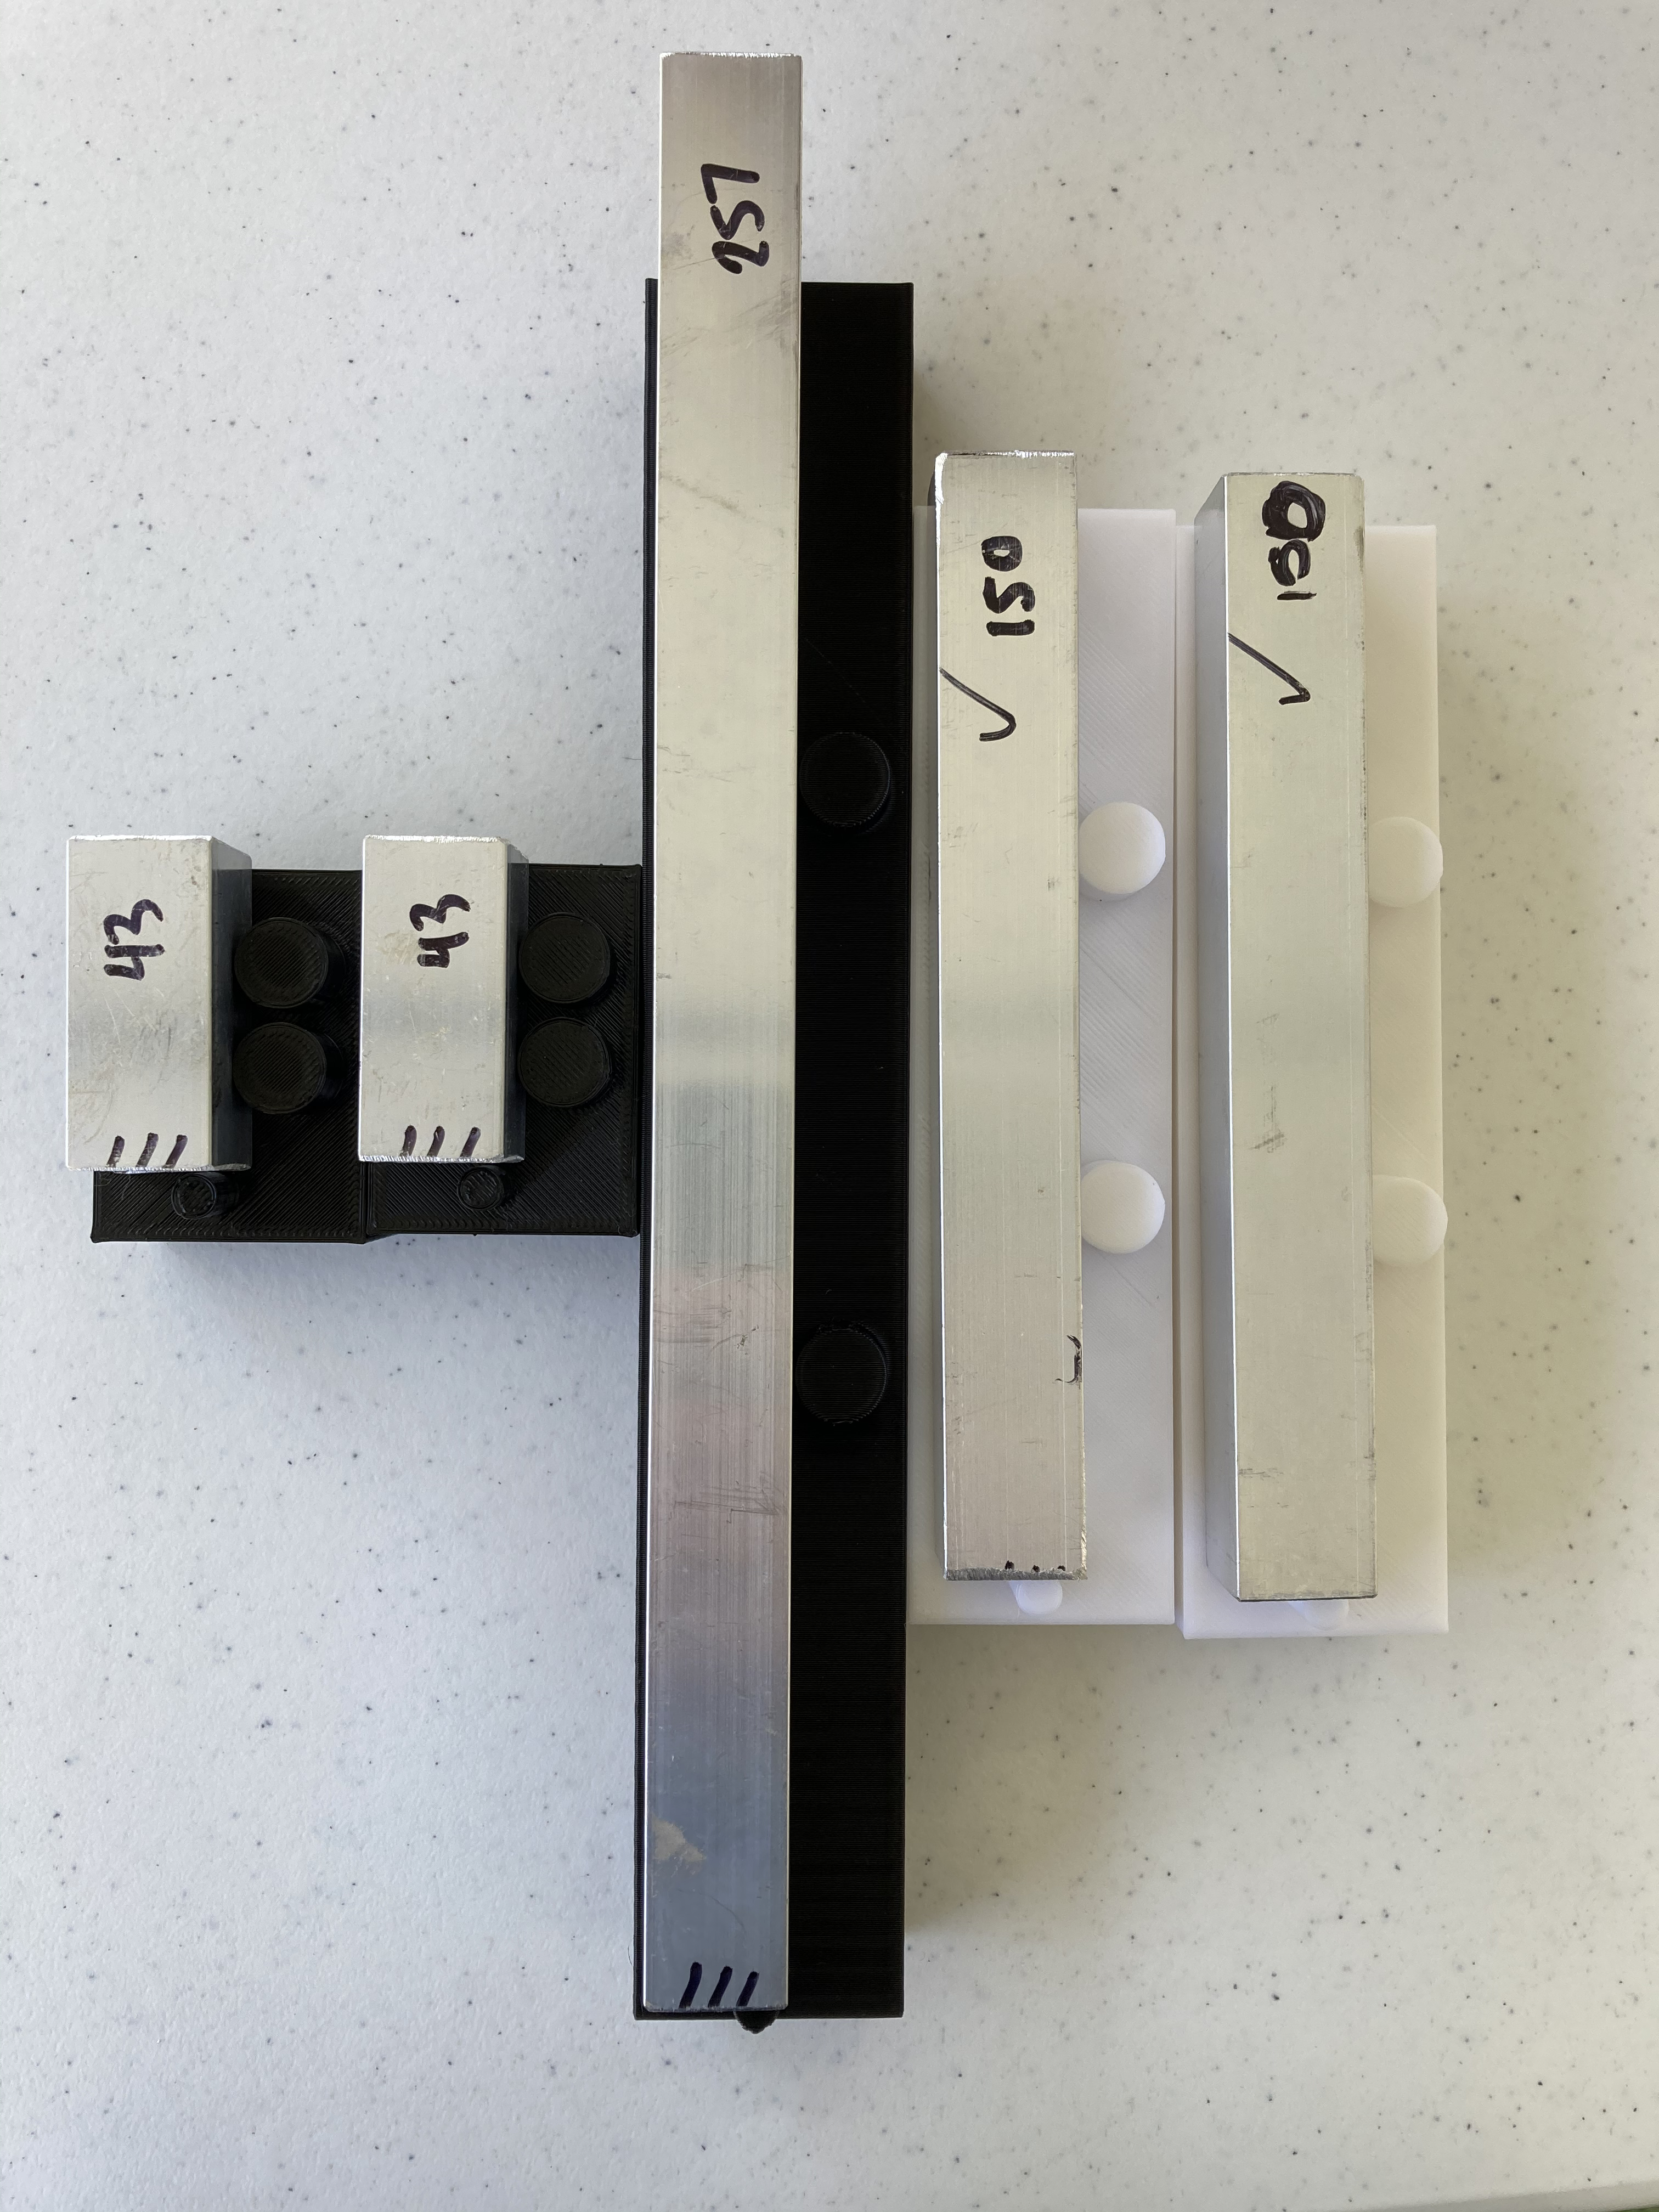
I designed a jig with holes that lined up with the drawing and pegs to lock the tubing in place to allow for accurate measurements.
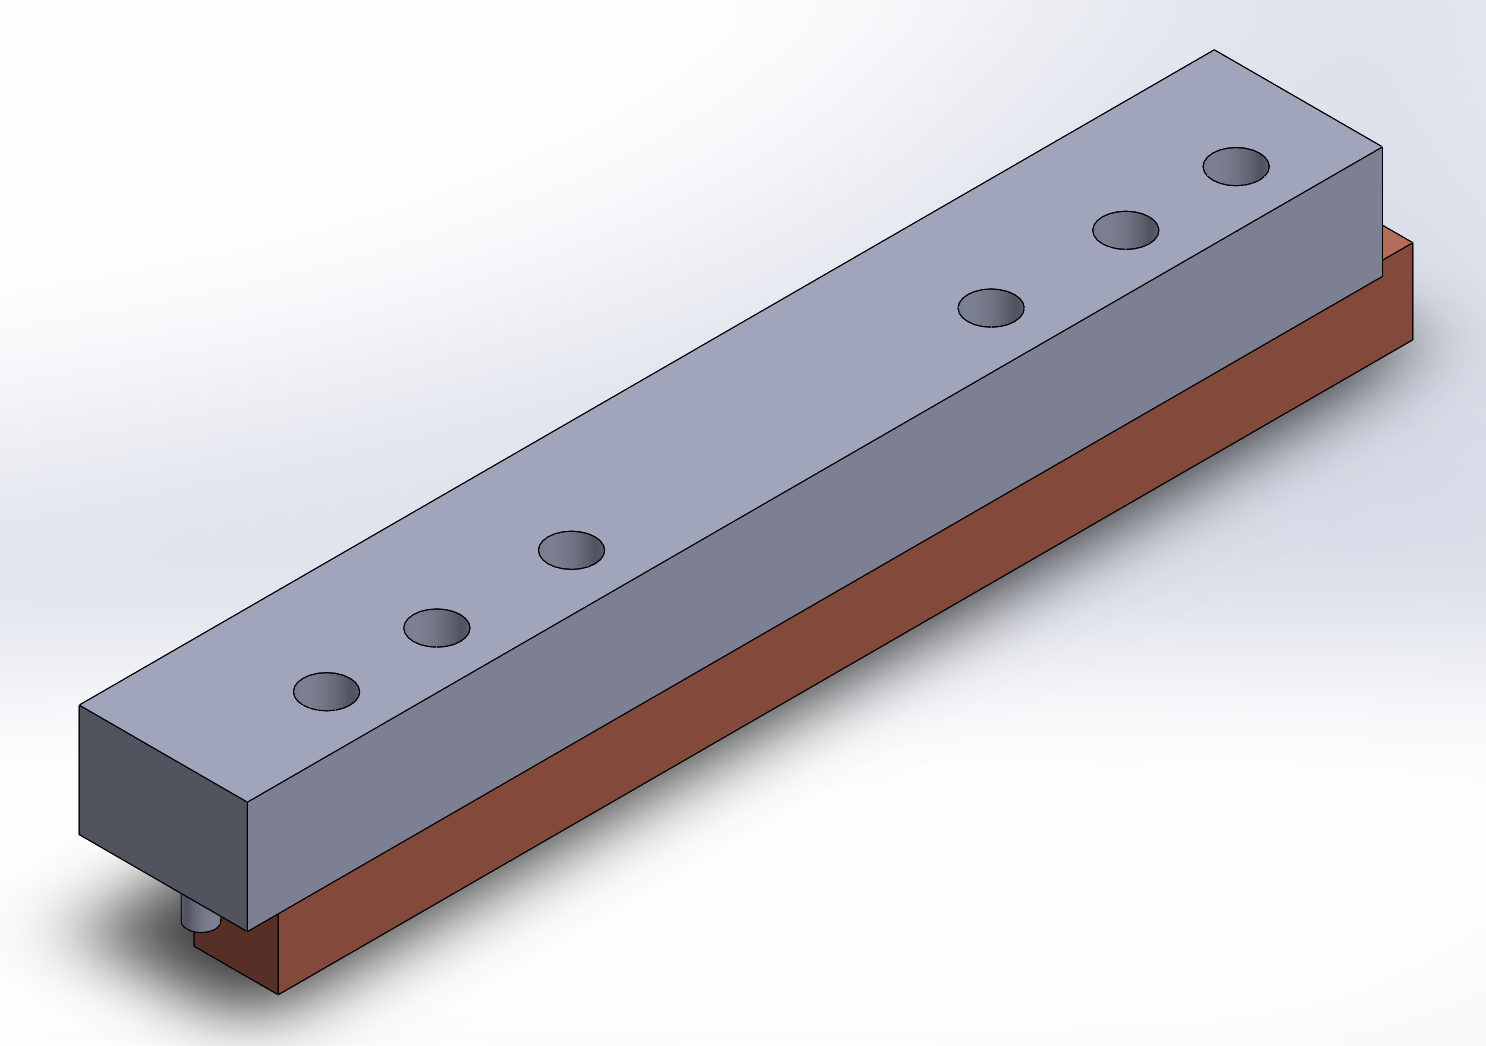
By using the jig, you can line up the holes needed to drill. Then by placing the sharpie through the hole, you could mark where you need to drill with better accuracy than just a tape measurer.

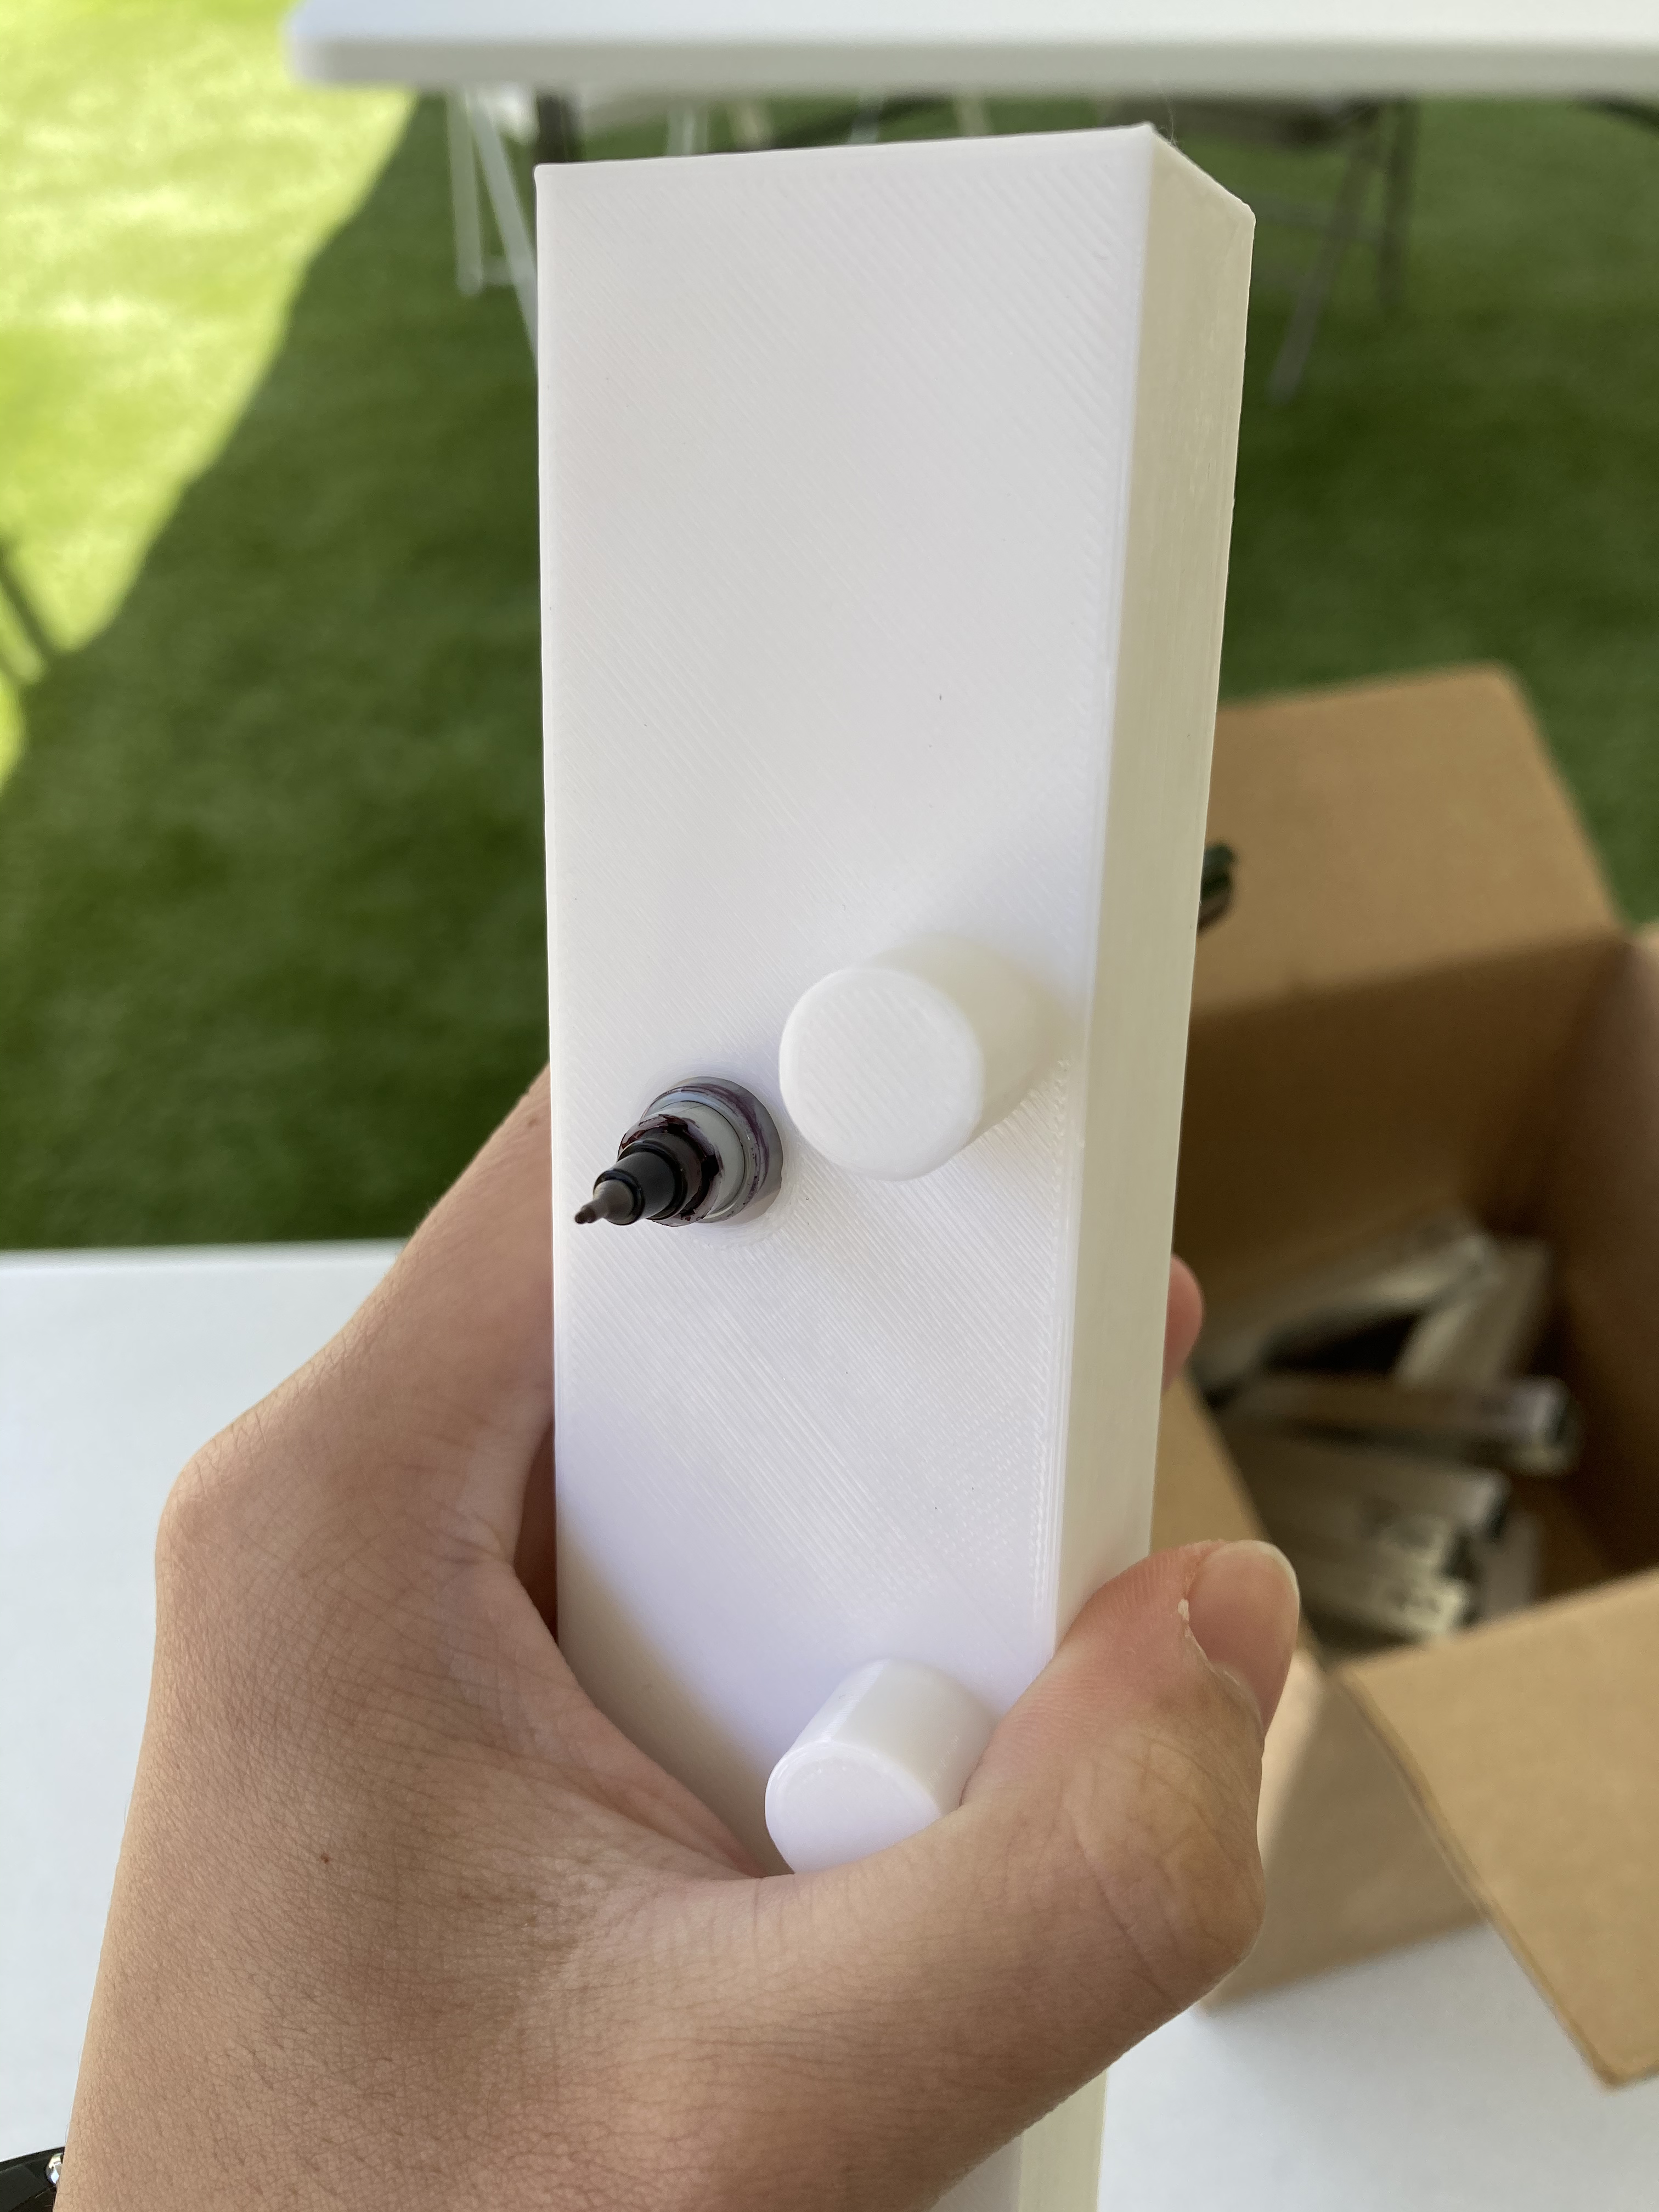
Overall, the jig worked fine. I was able to get pretty accurate holes. The problem was with the sharpie and that the tip got slanted. Since 3D printing was used, some of the holes were tight but more allowed the sharpie to fit through.